If you've ever wanted to learn how to draw a deer, you're in luck! In this article, we'll guide you through the process of creating a beautiful deer drawing. Whether you're a beginner or an experienced artist, these step-by-step instructions will make it easy for you to create a stunning artwork. So, grab your pencil and let's get started!
Gathering Your Materials

Before you begin, make sure you have all the necessary materials. You'll need a pencil, eraser, paper, and any coloring tools you prefer, such as colored pencils or markers. Having a reference image of a deer can also be helpful.
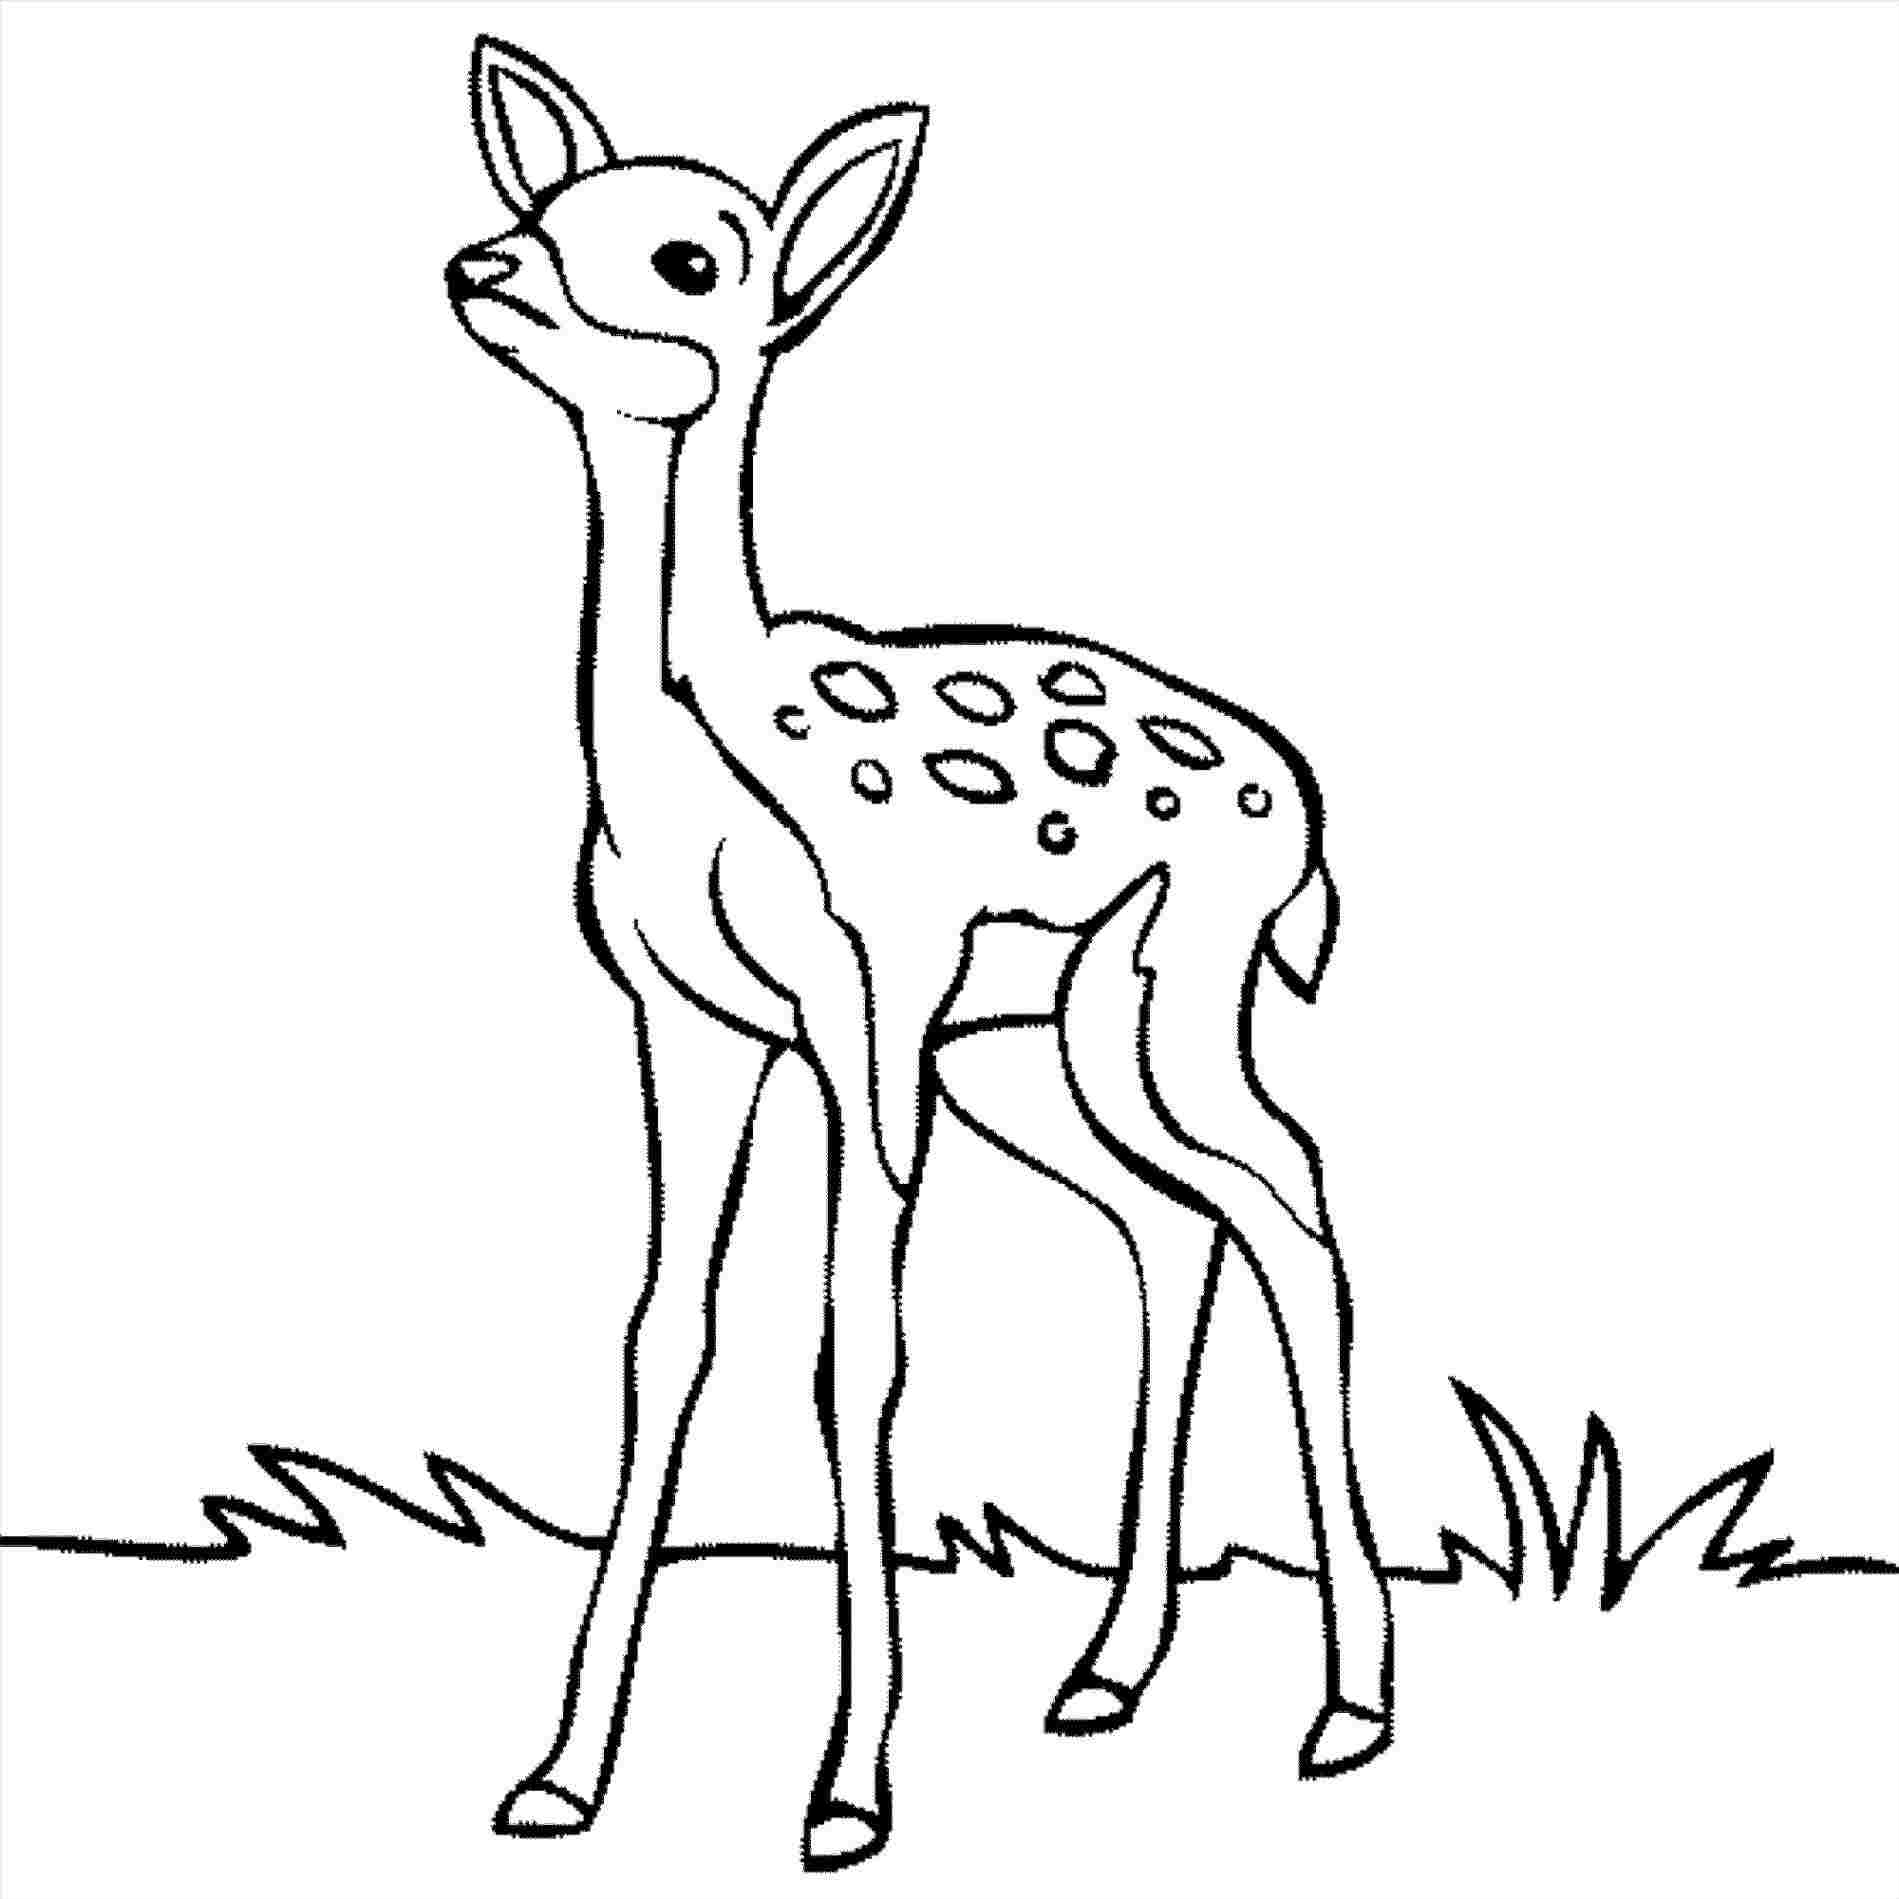
Starting with Basic Shapes
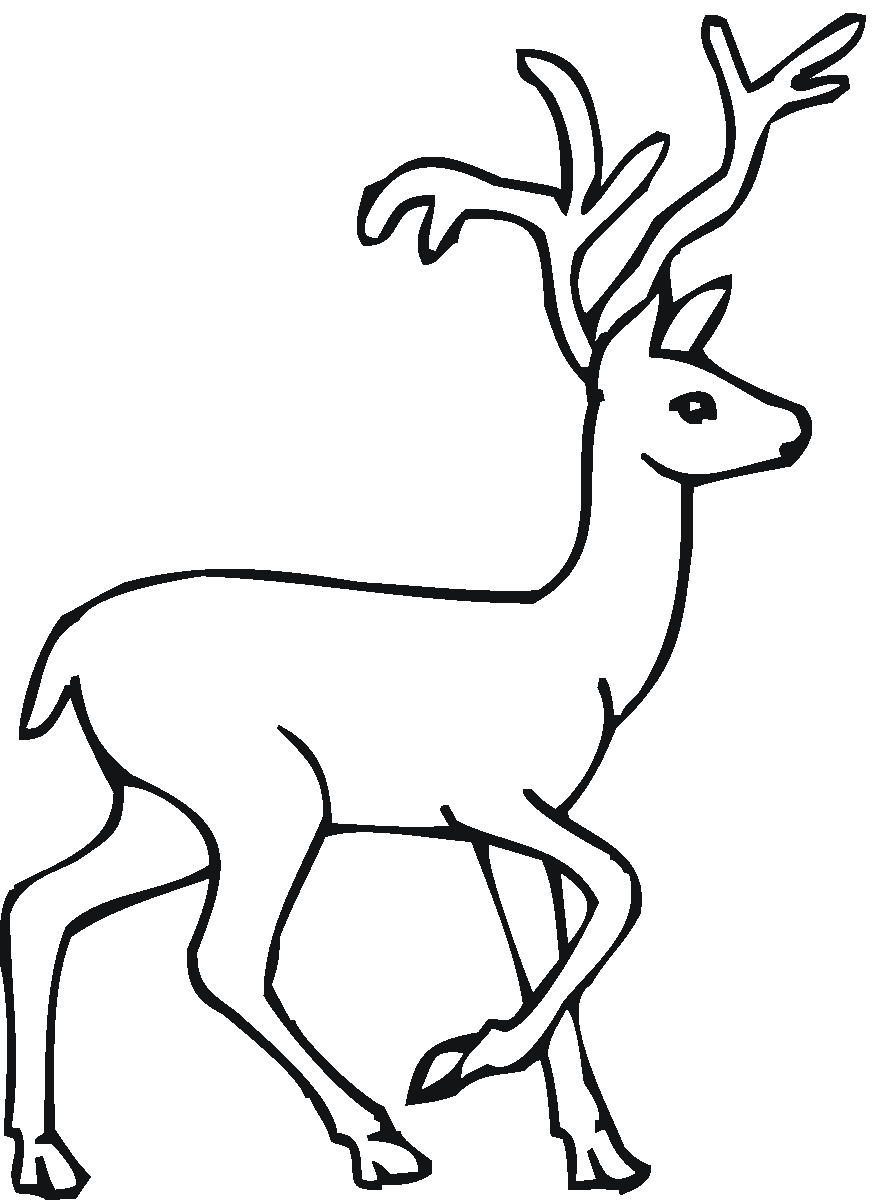
Begin by lightly sketching the basic shapes that make up the deer's body. Start with a large oval for the body and add smaller circles for the head and limbs. This will serve as your framework for the drawing.
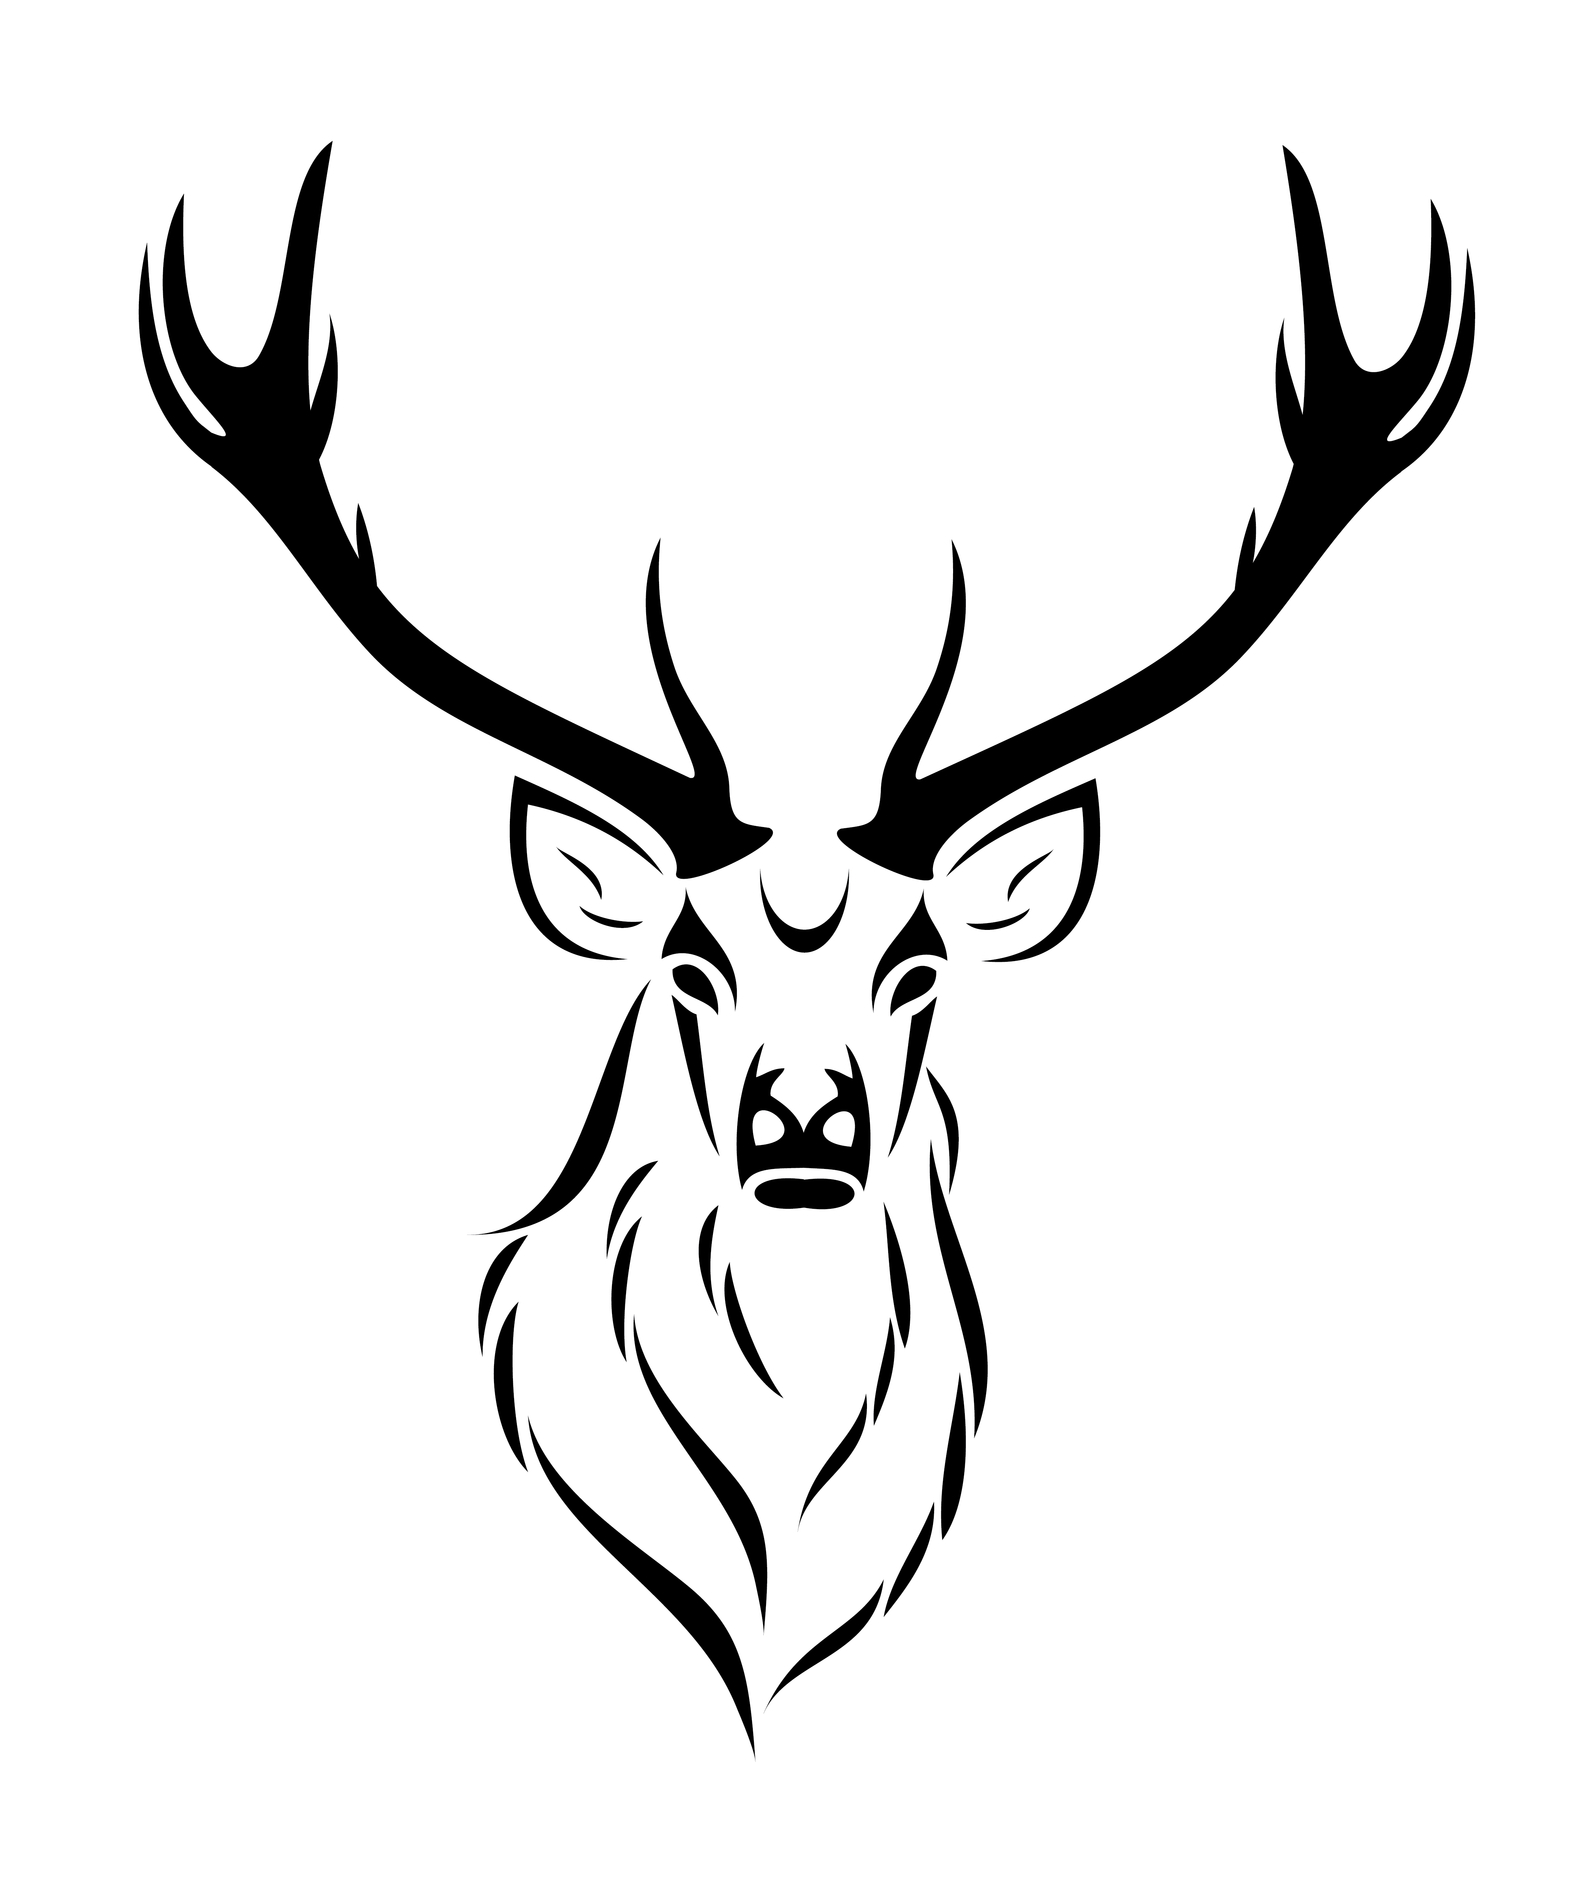
Adding Details to the Head
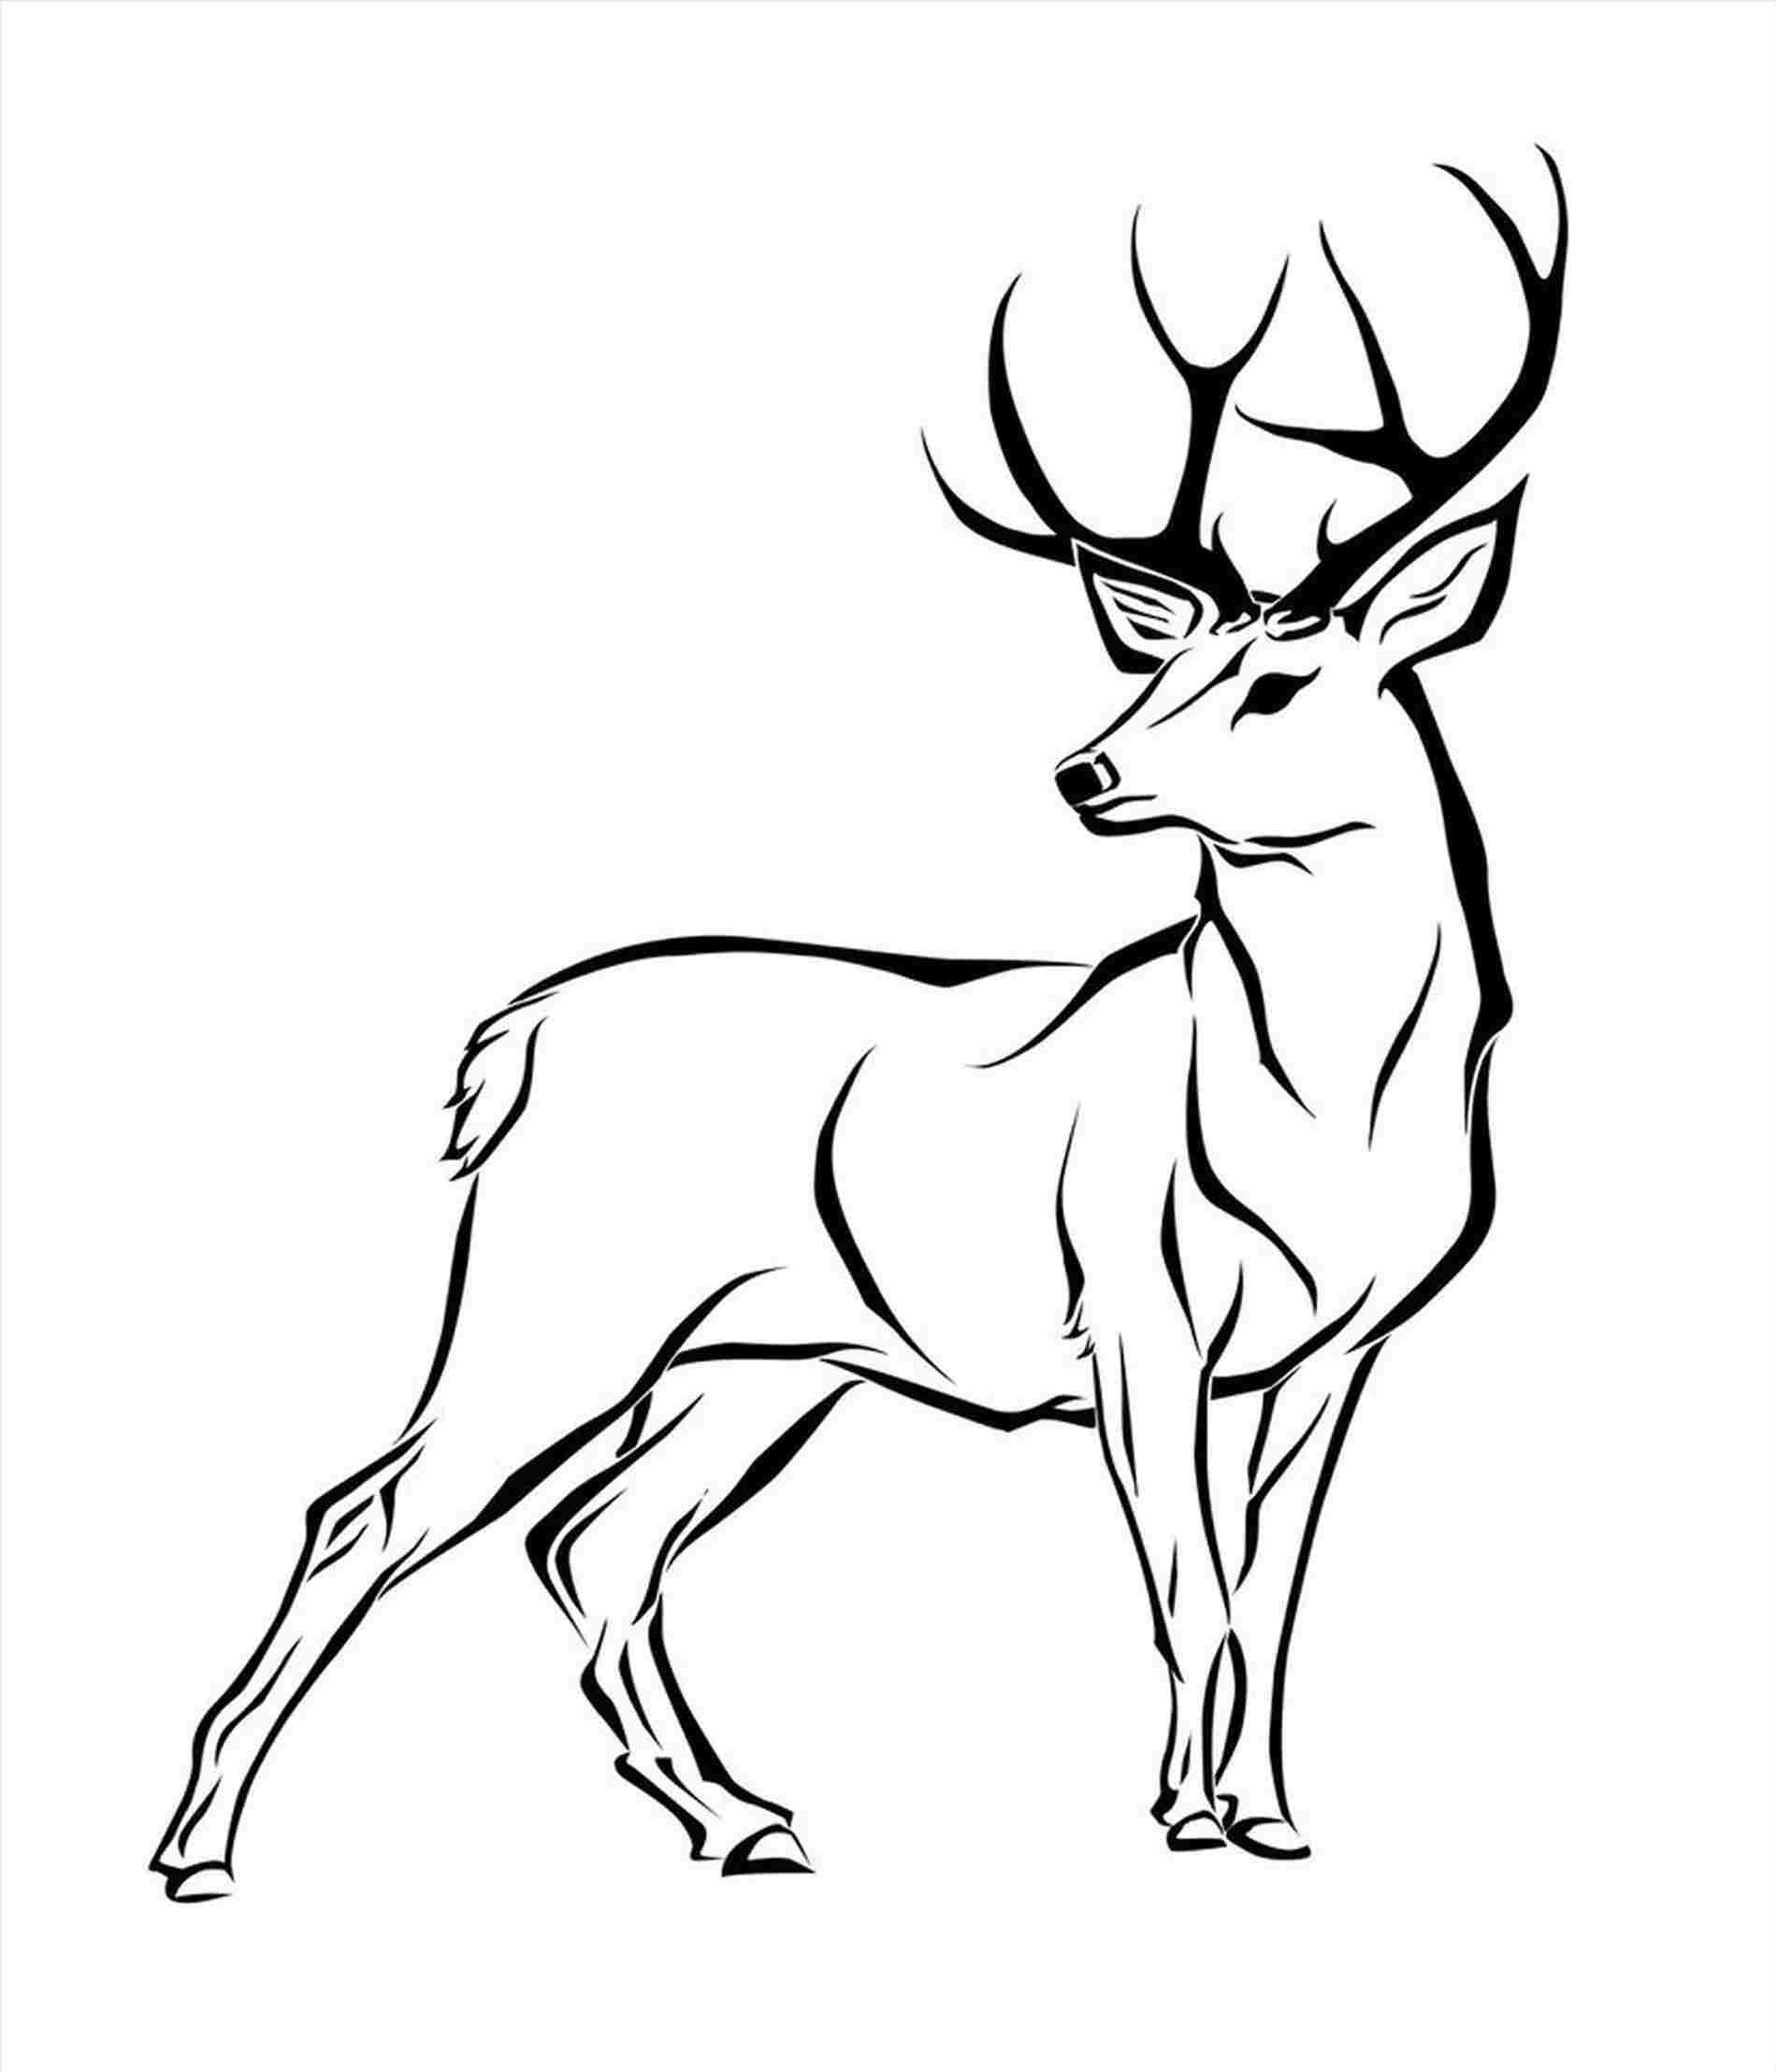
Focus on the deer's head next. Add details like the eyes, ears, and antlers. Take your time to get the proportions right, as these features are essential for capturing the deer's unique appearance.
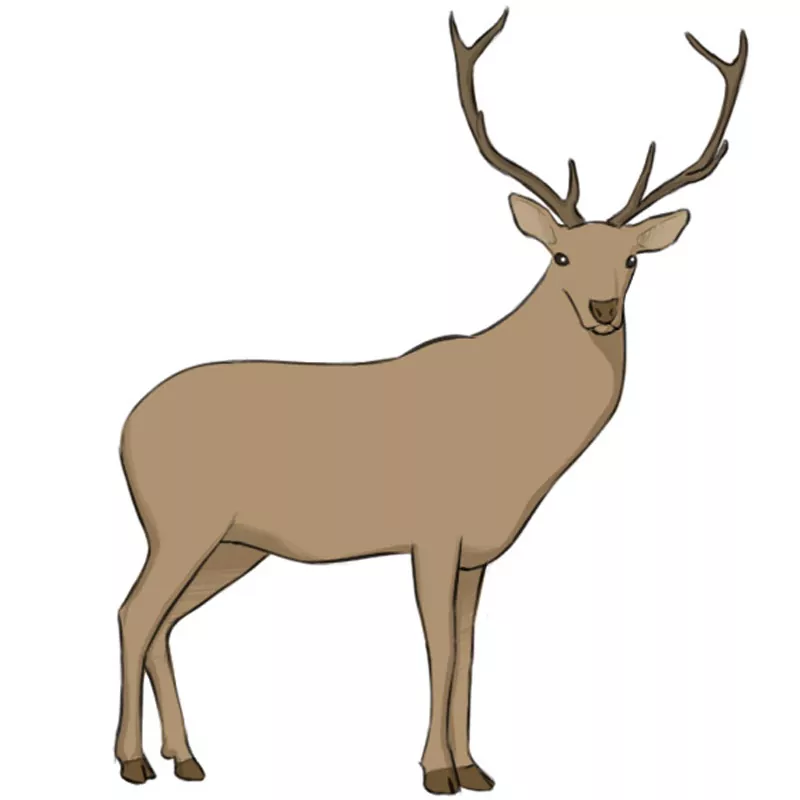
Shaping the Body
Now, work on shaping the deer's body by adding curves and contours. Pay attention to the musculature and the posture of the deer. Take a look at your reference image and use it as a guide to create a realistic depiction.
Adding Fur Details
Next, add texture and depth to the drawing by incorporating fur details. Use short, curved lines to create the impression of fur. Vary the lengths and directions of the lines to make the drawing more realistic.
Refining the Antlers

Pay special attention to the antlers as they are a defining characteristic of deer. Add intricate details and refine the shape to make them stand out. Remember to take your time and work patiently.
Adding Shadows and Highlights
Now it's time to bring your drawing to life by adding shadows and highlights. Observe the light source in your reference image and use it as a guide to determine where the shadows and highlights should fall on the deer's body.
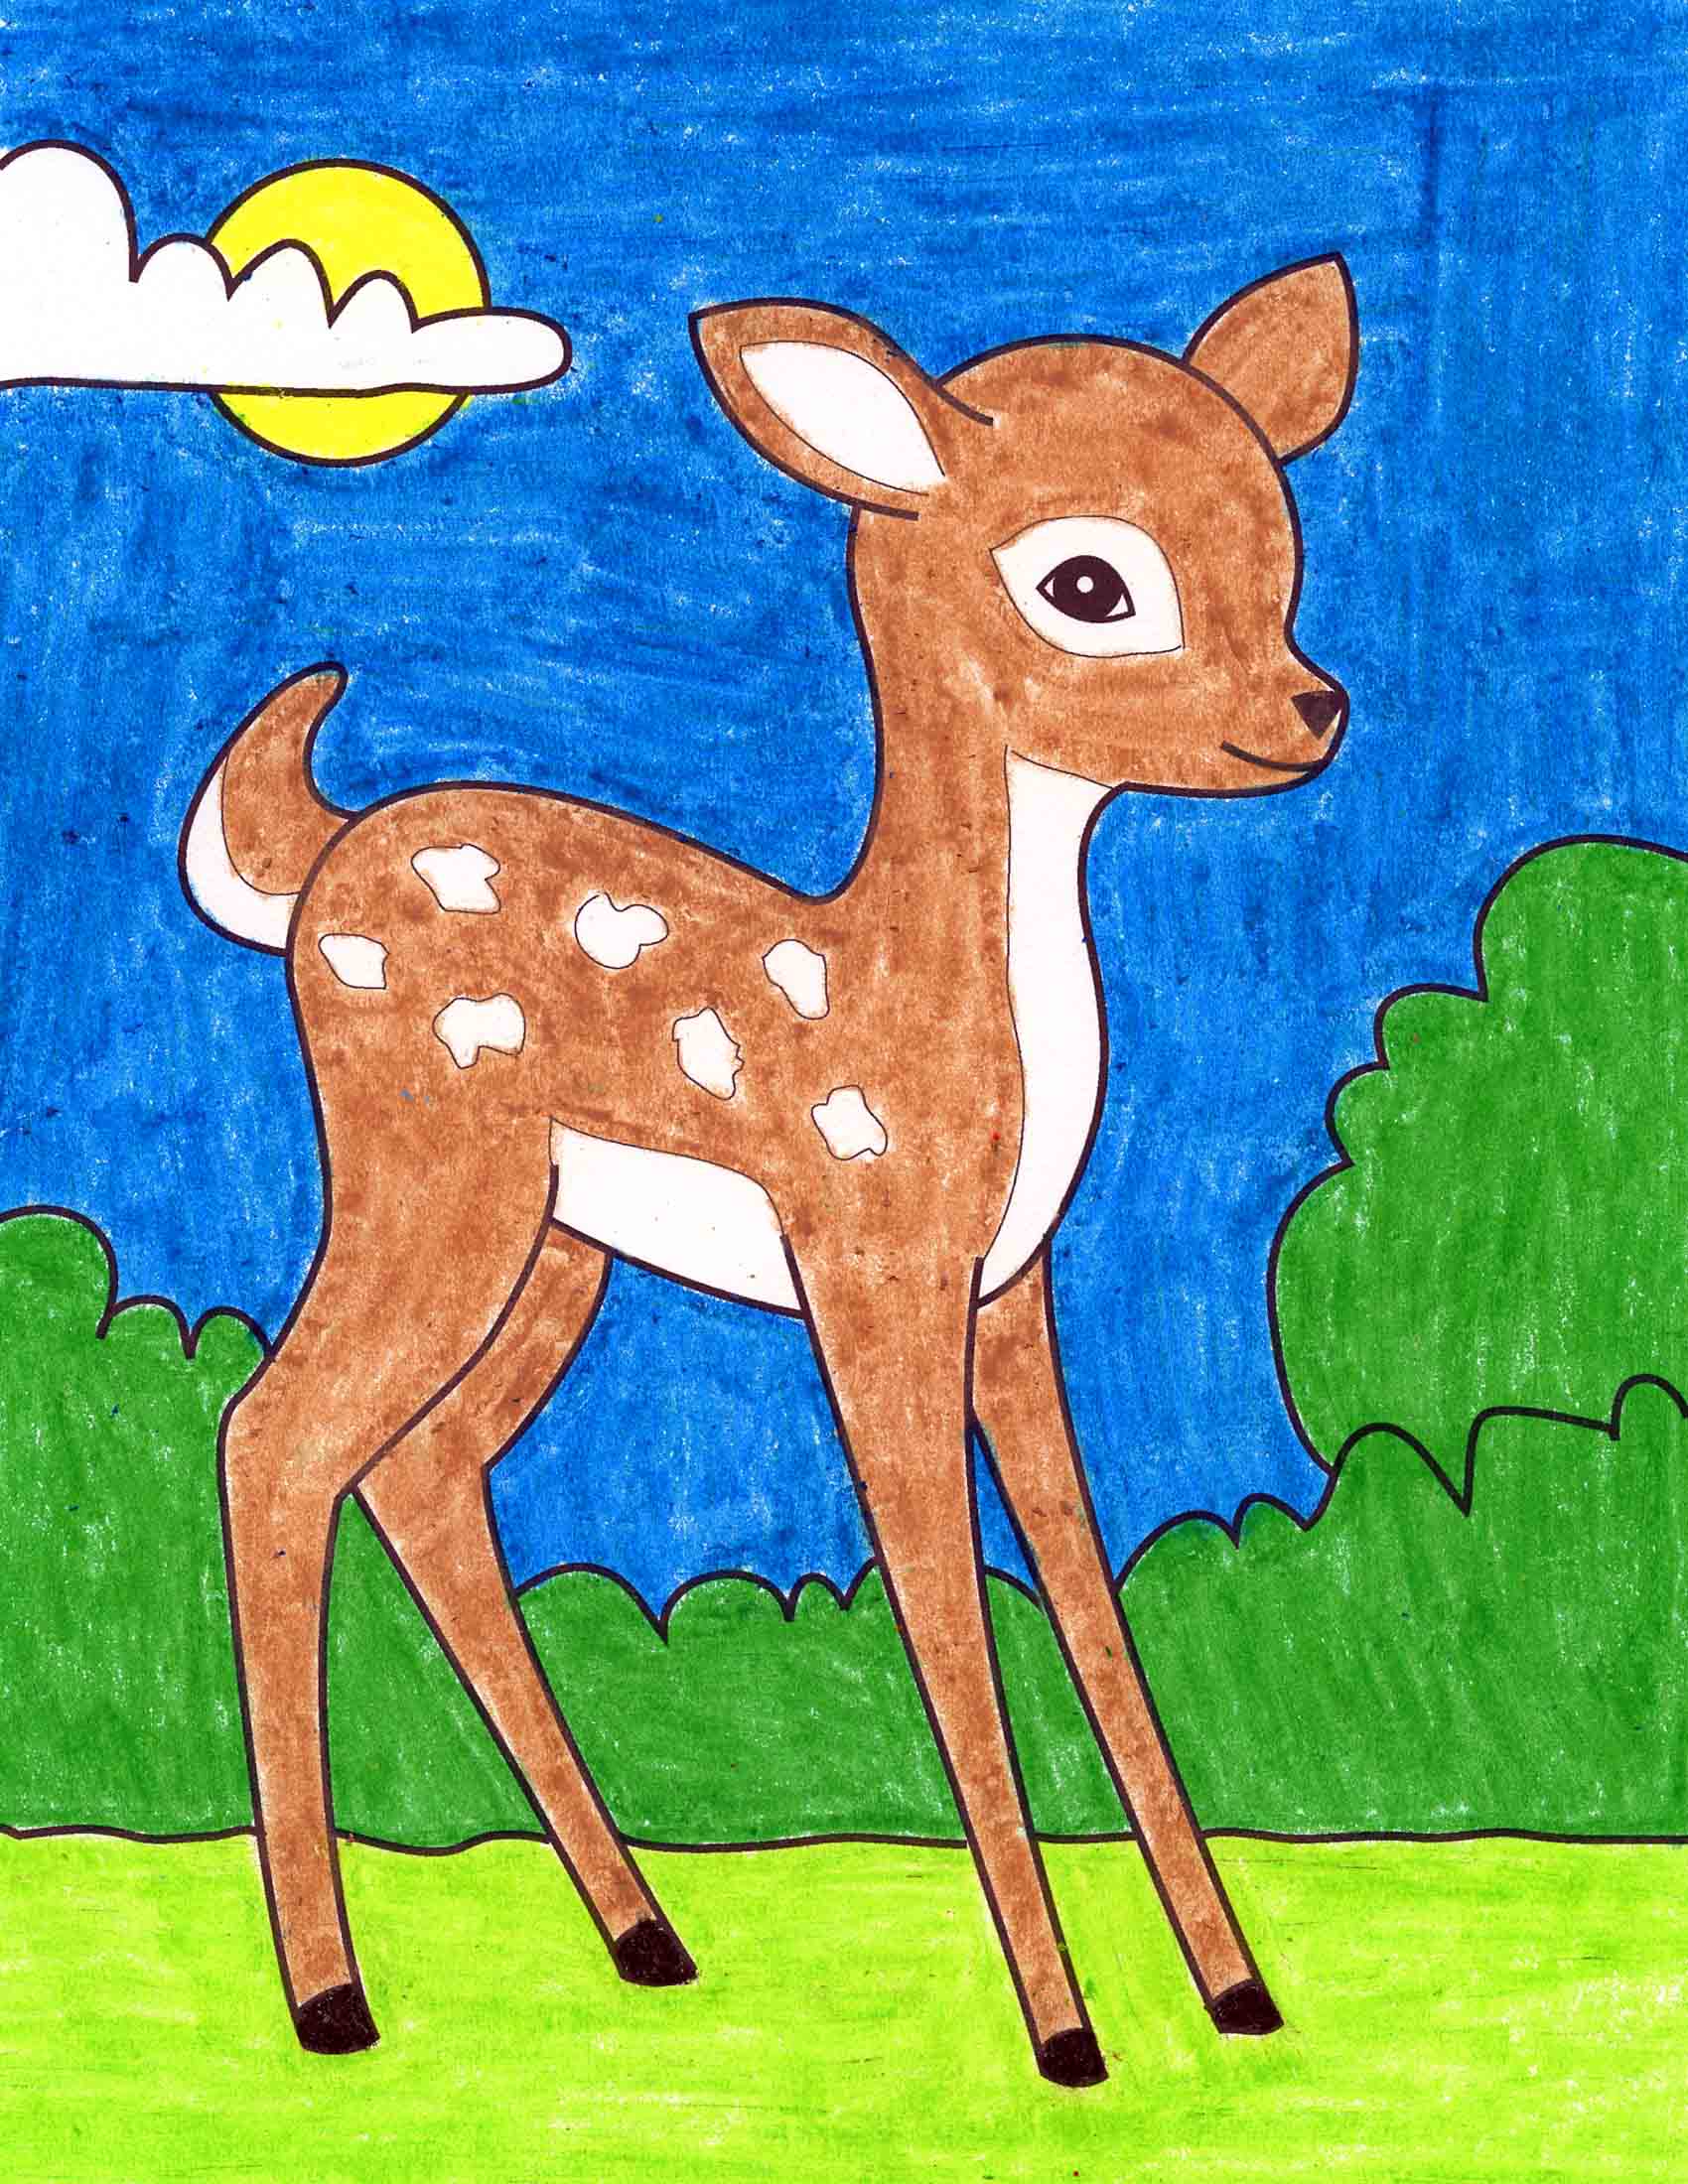
Coloring Your Drawing

If you prefer a colored drawing, you can now start adding color to your artwork. Use your preferred coloring tools and take your time to achieve the desired result. Consider the natural colors of a deer or let your creativity guide you.
Finalizing Your Artwork

Once you are satisfied with your drawing, carefully go over the lines and erase any unnecessary marks. You can also add additional details or make adjustments to enhance the overall look of your artwork.
Conclusion
Congratulations on creating your own deer drawing! Remember, practice makes perfect, so don't be discouraged if your first attempt doesn't turn out exactly as you imagined. Keep refining your skills, experimenting with different techniques, and soon you'll be able to create stunning deer drawings effortlessly.
